


I recently bought a Raspberry Pi 4 with the intention of using it to explore the compute side of the cryptocurrency world. There are plenty of resources out there to help newcomers get up-and-running with a bitcoin or ethereum node on a Raspberry Pi. However, these resources don’t talk about resource consumption, memory usage, performance constraints, and whether it is possible to mine with a Pi (spoiler: yes, it is possible, but definitely not profitable!). Read on for a summary of things I learned while running an ethereum node and mining with the Pi for a couple weeks in December, 2020.
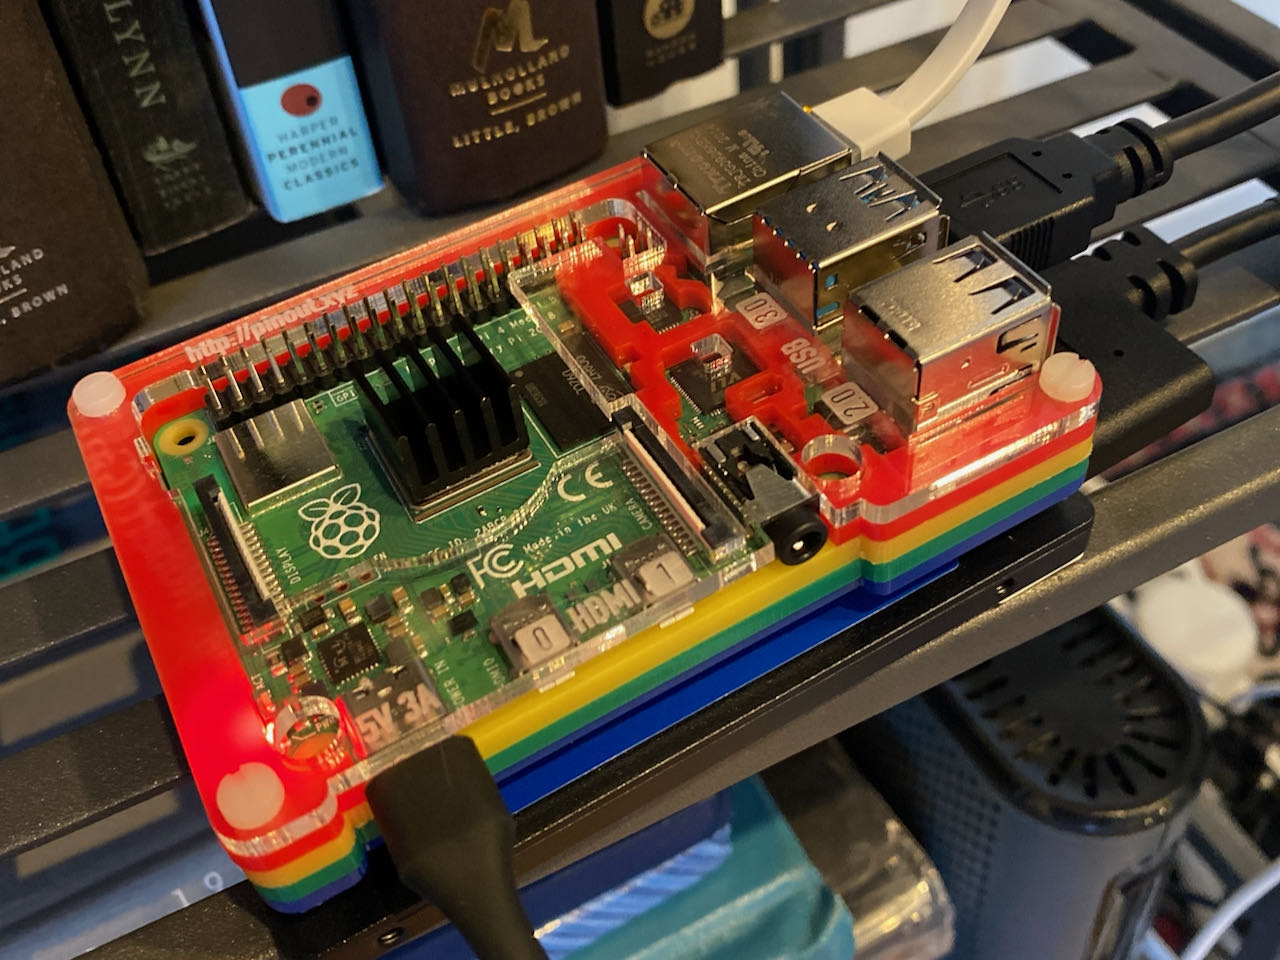
My Raspberry Pi 4 ETH 'Rig'
Setup
If you’re looking for the fastest way to get running with an Ethereum Node on a Raspberry Pi 4, check out this pre-configured disk image from Ethereum.
Being the proud nerd that I am, I chose instead to install and configure everything myself, from scratch. I ended up scrapping my progress and starting over a few times because I learned hard (but worthwhile, educational) lessons. These included:
- You must use a 500+ GB SSD
I had an old WD Passport 1TB portable HDD that was fully operational with the Pi… i.e. power consumption through the USB 3.0 port was adequate to operate the HDD. I tried to use the disk for the ETH node data in my first go. The pitfall was that disk I/O to run an Ethereum node is too demanding for an HDD. Using an SSD for an ETH node is mandatory.
- You can gain significant performance improvements, and take advantage of default configurations and permissions, by configuring the Pi to boot from the SSD itself
For someone not intimately familiar with Ubuntu, I appreciated setting up my geth installation with default configurations, not having to worry about setting up auto-mounting of an external drive and configuring access permissions for my geth user and external drive filesystem. When you flash a Raspberry Pi image to SSD and set up the Pi that way, things work just as though you started with a 1TB SD Card (except the SSD is much faster and more reliable). The Pi firmware update from September 2020 allows this boot-from-SSD functionality out-of-the-box for certain OS images.
I found that the easiest way to set up the Pi for maximum performance was to start from scratch with the SSD and Raspberry Pi Imager, using Ubuntu Server 20.10. Flash the 64-bit Ubuntu Server 20.10 onto the SSD via Raspberry Pi Imager (I tried with 20.04, and it didn’t work). Your Pi must be configured with the latest EEPROM and you must have it set to look for a boot volume on USB when the SD Card is not present. Flashing the latest EEPROM firmware is also possible via Raspberry Pi Imager. The default boot order is 0xf41 which tries SD Card followed by USB storage - this is what you want.
- You can significantly decrease the amount of time it takes to download the blockchain history by setting the
--cacheflag when startinggeth
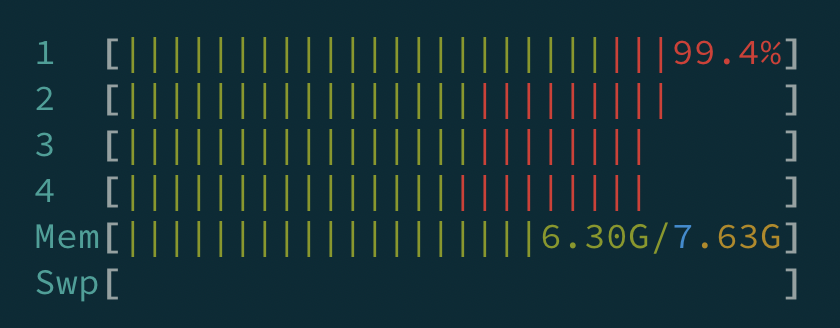
The Ethereum blockchain takes days to download, even in fast sync mode (which is default with geth). You can improve the speed of your syncing by setting the --cache flag to 25-50% of your system memory. I have an 8 GB Pi, and I set it to --cache=4096. I monitored the memory in use and it rarely climbed above 7 GB, but hovered mostly between 6-7 GB.
Stats
I only left my node running for a few days since it was so resource-intensive. The Pi was running on a USB-C charger that maxed out at 15W, so I know the power consumption was never going to be more than $2-3/mo … that wasn’t a concern. But network bandwidth is an issue.
Optimized for maximum performance
All 4 CPU cores were in constant use, as was a huge chunk of the 8GB RAM. As far as heat management, a simple aluminum heat sink was adequate to keep running at this load for a week straight. It was hot to the touch, but not hot enough to be hazardous.
Network Bandwidth Consumption
In December 2020, running a full Ethereum node via geth, the Pi consumed between 25-40 GB worth of downloads and an equal amount of uploads. The total bandwidth used for my ETH node, in late December 2020, was 45-90 GB/day. This is after syncing, just running normally. Whoa! My ISP barked at me for the data usage spike (apparently I have a monthly limit, who knew?).
The total bandwidth used for my ETH node, in late December 2020, was 45-90 GB/day.
Mining
Just for kicks, I mined on the Pi for a bit and monitored the performance. The result? The Pi 4 can mine ETH at a whopping maximum 50 Hashes/second! 😂 That’s hashes, not megahashes, per second… as in, 1000x less productive than your average garage GPU-based “mining rig”.
“The Pi 4 can mine ETH at a whopping maximum of 50 Hashes/second! 😂”
The reason the Pi is so terrible at mining is that you’re limited entirely to mining via CPU, through geth. Ethereum is better mined via GPU power, not CPU power. The Pi 4 has a GPU, but it has no OpenCL or CUDA implementations. These are required interfaces for ETH GPU miners. So, until someone implements an OpenCL interface for the VideoCore 6 GPU (the Pi 4’s hardware), I recommend that you don’t even try mining with a Pi 4.
Another downside of this is that, even though I was technically mining on my Pi 4, I couldn’t add my mining power to a mining pool because pools require that you’re using mining software that only allows for OpenCL and/or CUDA interfacing with a GPU.
I found this VC4 OpenCL implementation with an open issue requesting VC6 support - perhaps you could use it to mine with a Pi 3 via the VC4 GPU that comes with the Pi 3? I’d be interested to see someone try!
Conclusion
This was a fun initial project for my first Raspberry Pi. I spent hours and hours learning about configuring Ubuntu Server from scratch, and the reason that I’m not linking more instructional resources is because I feel like there’s no single source that I felt adequately suited my needs. But for anyone out there wondering what’s possible with a Pi 4 ETH node, I hope this sparks ideas or saves you time and frustration!
I killed my ETH node after a few days because I have no real need or use for it at the moment - but it was fun while it lasted!